Cooking and canning foods at home is so easy that even a beginner can quickly learn how to master it. Making and canning foods at home is also an inexpensive and healthy way to provide food for your family.
It’s a method where you can set aside provisions in the event of a disaster. But if you’re going to use canned foods, you’ll want to follow this checklist to make sure that you have the right supplies and to follow the important safety guidelines.
Get Some Jars
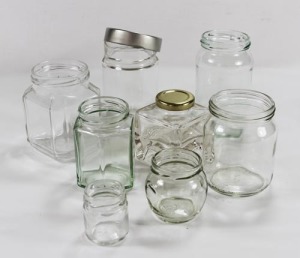 The first items that you’ll need to line up are enough jars to hold the foods you want to store. How will you know how many jars you need? One way is by checking out what the recipe says. Home canning recipes will usually tell you how many batches of food the recipe will produce.
You can find jars that are specific for home canning. When you have the jars you need, you’ll want to wash the jars along with their lids and bands like you would hand wash dishes. This is done to remove germs and sterilize the jars.
Get The Right Utensils
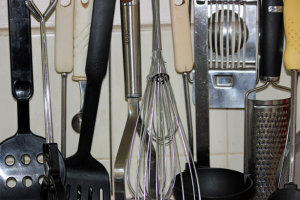 The next thing you’ll need are utensils. You’ll need spoons and a spatula. You’ll also want to make sure that you sterilize the utensils you use. When you’re canning foods, you don’t really have to have a lot of items, but you do want to make sure you have a sturdy stockpot.
Other Equipment You Will Need
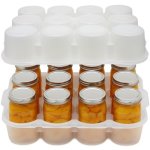 You might find it helpful to have a funnel, labels and a canning jar holder. If you’re canning fruits or jellies, you may also want – pectin but some people can foods without it – it’s a personal preference.
Tips To Help You Prepare Your Food
 1. Once the water has simmered in the pot, you’ll want to fill the jar to the level that the recipe calls for. Don’t put warm foods in cool jars because this will cause the jars to shatter. The jars need to be at lease room temperature.
2. To get out the air bubbles, make sure you don’t stir – just run a flat utensil around the inside of the jar. Put on the lid toppers and the rings then place the jars in the jar lifter. If you don’t have a jar lifter, you can use tongs in a pinch, but it’s easier for the jar to slip with tongs.
3. Using a jar lifter, you would lower it by the handle into the stockpot until the tops of the jars are completely covered by water. Let the water boil however long the recipe says to let it boil.
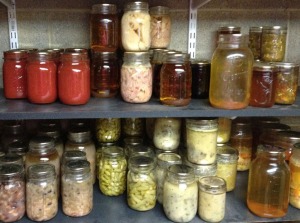
4. You don’t want to count the time before the water boils. Once the jars are cool, some people put labels that are dated on the outside of the jars to that they can rotate the foods while they’re in storage.